How To Start A Mastodon Development Environment
This post will explain how to initialize a Mastodon development environment on your local computer. This is the first step to contributing to the Mastodon project, not counting reading the README, code of conduct, and creating a fork. Let’s focus on the technical part to start our Mastodon environment; after that, you can start to look for an issue to make your first contribution.
What is Mastodon?
Firstly, I think it is important to mention, what’s the Mastodon project? The Mastodon project is a free software and federated social network that implements ActivityPub. Actually, in my opinion, it is the most famous federated social media. When somebody wants to join in the fediverse (social networks federated), the first and probably the only one in their mind is Mastodon. Actually, I’m pretty sure new users discover the Mastodon concept before the Fediverse one.
This project is written in Ruby on Rails, ReactJs and PostgresSQL It uses an AGPL license. The repository of the project is hosted in this GitHub repo where you can get more information about the project.
Ways to start a development environment.
Supposing you already created a fork and cloned the fork on your computer, we will have two ways to run the project locally, using containers (Docker or Podman) or setting up locally.
Using Docker
We can use Docker or Podman; both of them work fine to run our project. In this tutorial, I’ll explain it using Docker since Docker is the most used container manager, even though personally I prefer Podman.
The first step and the most obvious is to install Docker.
💡 Note: There are two ways to install docker: using Docker Desktop or only Docker Engine.
If you are like me and prefer to throw commands in the terminal, you would choose Docker Engine; in this case, you will need Docker Compose as well. If you choose Docker Desktop, Docker Compose will be included in its installation.
After installing Docker, we can continue. If we go to the source code, we can notice there is docker-compose and a Dockerfile.
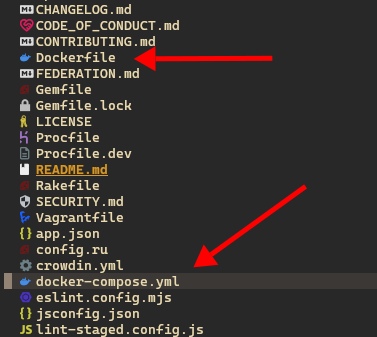
Unfortunately, these Docker files were designed to be run in a production environment, not in development. So we need to use other way to run Mastodon locally.
If we still looking into the filesystem of the project we could find a hide directory named .devcontainer
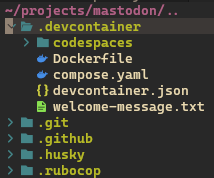
These are the Docker files that we use to run Mastodon locally, so now you should run the following commands in your terminal.
docker compose -f .devcontainer/compose.yaml up -d
docker compose -f .devcontainer/compose.yaml exec app bin/setup
docker compose -f .devcontainer/compose.yaml exec app bin/dev
We wait for Docker to do its magic, and at the end it should be ready to work!!
Set Mastodon locally.
This is the classic way so you will need some dependencies.
- Ruby
- Bundle
- Node.js
- Corepack
- Libvips
- PostgresSQL
- Redis
Ruby
Starting with Ruby, I prefer to use a version manager instead of using the Ruby version that the package manager can offer, because if we want to code other projects with different versions of Ruby and its gems, we can easily switch the Ruby version. I recomend to install rbenv. When you move to the Mastodon project directory, rbenv will detect the Ruby version that is needed, or you can run the following command:
rbenv install
The previous command will install the correct version of Ruby for the project. Now that we have Ruby installed, we can install bundle with the following command:
gem install bundle
Nodejs
Now let’s pause on Ruby commands and let’s continue with the Node.js part. Same story here. I recommend using a version manager for Node.js instead of using the system version, for the same reasons that I explained for Ruby. So I recommend using nodenv. For some reason the Mastodon project there is not a Node.js version defined for the date that this post is written, so we need to install a version for our own. So first, let’s show the versions that nodenv could provide us with the command:
nodenv version --list
Now you should choose one of the versions listed in the output of the previous command, and when you do, you can run.
nodenv version [version]
nodenv [globla|local] [version]
The Mastodon project uses yarn as a package manager and uses corepack as a package manager version manager (yeah, it’s confusing). The good new is the modern Node.js versions include it; the only thing that we need to do is enable it with the following command:
corepack enable
Installing Yarn even when the project needs it is unnecessary because corepack will do for us.
Libvips
Libvips is an image processor. We can find more information about it in its repo.
To install we can use
sudo pacman -S libvips # ArchLinux
sudo apt install -y libvips # Debian
sudo apt install libvips libvips-tools # Ubuntu
sudo dnf install vips #Fedora
bew install vips # MacOs
For more information about how to install vips in your system included windows go to this page.
Redis and PostgresSQL
Here we could install these database manually using the package manager of our system, then set it up, but what about if we do a little trick here. Let’s use Docker 🤣
For Redis we can run:
docker run -d \
  --name mastodon-redis \
  -p 6379:6379 \
  redis:7
For PostgresSQL we can run:
docker run -d \
  --name psql_mastodon \
  -e POSTGRES_DB=mastodon \
  -e POSTGRES_USER=mastodon \
  -e POSTGRES_PASSWORD=mastodon \
  -p 127.0.0.1:5432:5432 \
  -v psql_mastodon_data:/var/lib/postgresql/data \
  postgres:15
💡 Note: Consider that I’m using the Redis and PostgreSQL version used for the project on the date of posting this blog post.
Let’s setup the project.
In the .env.development file add the following lines.
DB_HOST=127.0.0.1
DB_PORT=5432
DB_NAME=mastodon
DB_USER=mastodon
DB_PASS=mastodon

REDIS_HOST=127.0.0.1
REDIS_PORT=6379
Run the following commands to build the dependencies.
bundle install
yarn install
Then let’s setup the PostgresSQL database with.
RAILS_ENV=development bin/rails db:setup
Finally we can run the project with
RAILS_ENV=development bin/rails server
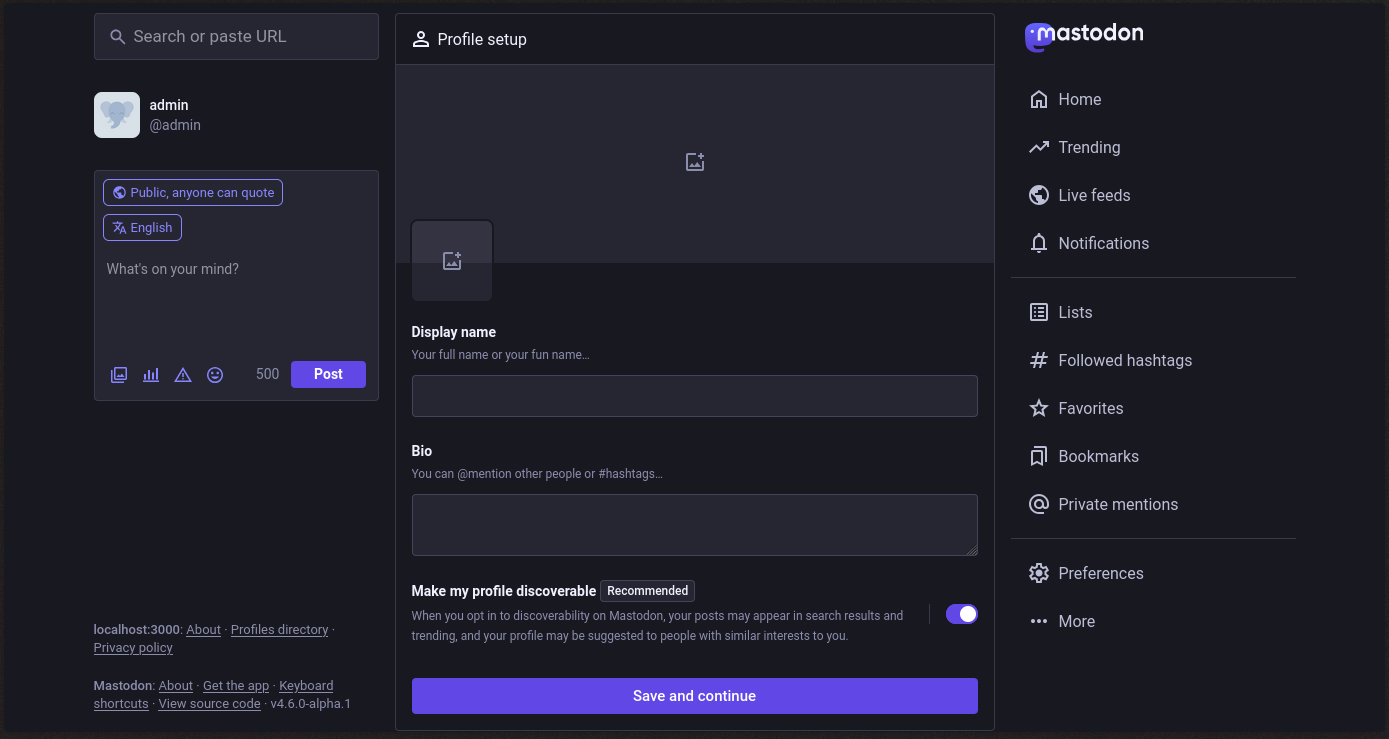
Results
Any way that you have used to run the project the result should be a local development environment running in http://localhost:3000 and you can login using the user admin@localhost and the password mastodonadmin
So Let’s contributing to the project and happy code!!